Stampin’ Up! Tasteful Touches Stamp set – Sponge masking background technique
TUTORIAL
Hello everyone. Today I am sharing a project I completed after being inspired by a lady from New Zealand who is part of the #ArtisanDesignTeam for 2020. Her name is Jan Clothier and she is known online as https://www.thinkingstamping.co.nz/ – go check her out! Being inspired by someone from, literally the other side of the world, is one of the things I love about being part of the Stampin’ Up! network. When I saw her instruction on how to do this technique I had to give it a go – even though I didn’t have the same foliage stamp she used in hers or that I don’t usually do sponging I wanted to have a play. Her instructions were easy to follow so I have based my step-by-step on Jan’s to help me keep it simple (I’ve been known to waffle a little)
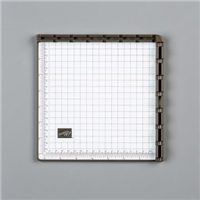
Step 1 – Set up

*Disclaimer – in my photo I got the Stamparatus spelling wrong – whoopsie!
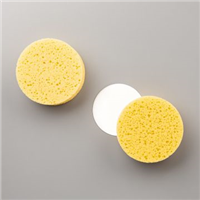
Step 2 – Sponging

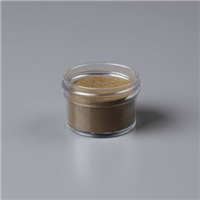
Step 3 – Stamping (and optional embossing)


Once I was all layered up I stamped “thanks” from my go to “Well said” stamp set, cut a banner style edge and tried to be a little arty by stamping a bit of interest with a pattern stamp from Tasteful Touches behind the sentiment (not convinced it worked but you live and learn lol)
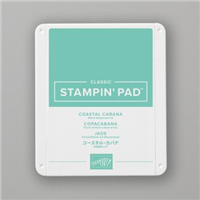
Supply list
All the supplies used for these projects can be purchased via my “Shop” link to my online store in the top menu or by clicking on the images in the supply list below. Of course you can always contact me if you do not wish to order online. Don’t forget for all orders between £25 and £99 add the Host code for a free gift from me.